

Key Takeaways
- A short cooling check can uncover minor issues before they become uncomfortable summer problems.
- Start with thermostat settings, filters, vents, and outdoor-unit clearance.
- Leave refrigerant, wiring, capacitors, and internal repairs to trained professionals.
- Keeping simple notes makes it easier to explain recurring symptoms during a service visit.
When the first hot stretch arrives, an air conditioner may run without effectively cooling every room. A few basic checks can help identify whether the issue is a setting, airflow restriction, or something that needs repair before temperatures climb further.
This checklist is designed for visible, low-risk tasks that homeowners can handle safely. It is not a guide for opening sealed components or working around electrical parts, but it can help you recognize early warning signs and protect your comfort.
Why A Cooling Check Matters
A system can still turn on while struggling with poor airflow, uneven temperatures, excess humidity, or longer cooling cycles. For example, a warm bedroom may be caused by a blocked return, direct afternoon sun, a duct issue, or poor insulation rather than complete equipment failure. Early checks give you useful clues before a small comfort concern becomes a breakdown.
Before Testing The System
Review the owner’s manual before touching the equipment, and turn off the power before cleaning near the unit. Keep children and pets away from outdoor equipment. Gather a flashlight, a replacement filter, a soft cloth, a phone or notebook, and a garden hose, only if the manufacturer permits gentle exterior rinsing. Never handle refrigerant lines, exposed wiring, capacitors, or sealed electrical components.
Check The Thermostat First
Confirm the thermostat is set to “cool” and that the target temperature is below the current indoor temperature. Review schedules, fan settings, and batteries if the display looks dim or inconsistent. A thermostat exposed to sunlight, lamps, televisions, or kitchen heat can misread the room and make a larger cooling problem appear to exist.
Review Filters, Vents, And Airflow
Inspect the filter and replace it if it looks heavily loaded with dust. The right interval varies with filter type, pets, allergies, occupancy, and system use. Check every supply vent and return grille, then move furniture, rugs, curtains, and storage away from them. Regular filter attention matters because a dirty filter makes equipment work harder to move air through the home.
If weak airflow affects several rooms, cooling cycles run unusually long, humidity rises, or ice appears on a refrigerant line, stop treating the issue as a simple vent adjustment. Duct leaks, blower problems, and airflow pressure concerns require testing. Proper sizing and airflow are important because poor system airflow can reduce comfort and efficiency.
Inspect The Outdoor Unit Safely
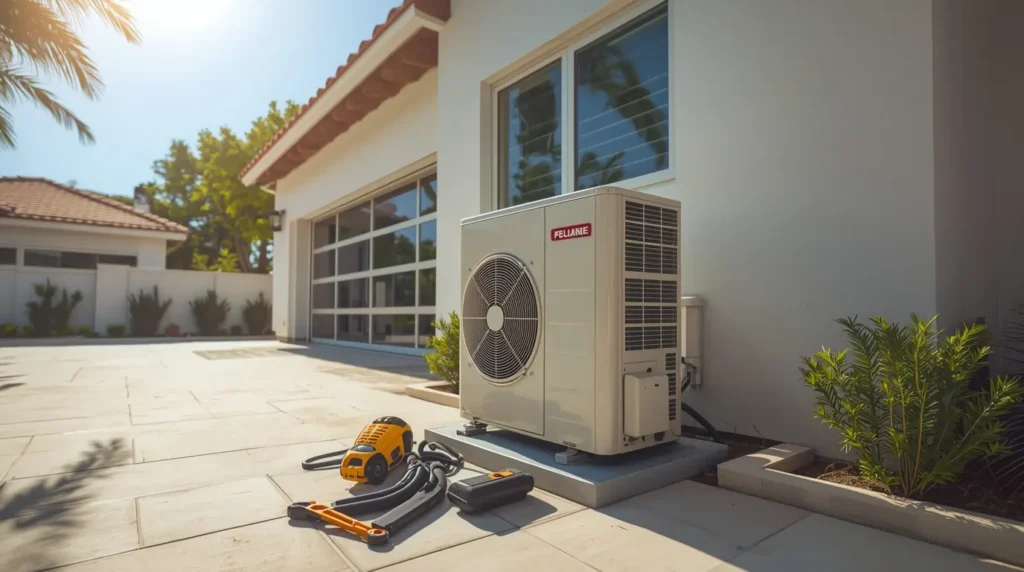
With the system off, look for leaves, grass clippings, weeds, cardboard, or other debris around the outdoor unit. Clear loose material from the surrounding area so air can move through the coil. Look for standing water, oil-like spots, damaged panels, or badly bent fins. Do not remove panels, touch wiring, or attempt to straighten fins.
If the manual permits it, lightly rinse exterior debris using gentle water pressure. Do not use a pressure washer. Let the area dry before restarting the system. Repeated shutdowns, visible damage, or unexplained oil residue should be evaluated professionally.
Watch For Warning Signs
- Warm air from vents: Recheck settings and the filter. If it continues, arrange service.
- Repeated buzzing, clicking, or loud banging: Turn the system off if the sound is sudden, loud, or unusual.
- Water near the indoor unit: Shut off the cooling, protect nearby flooring, and address any drainage or freezing issues.
- Ice on equipment: Stop cooling operation and allow ice to melt naturally. Do not chip or scrape it.
- Burning odor, smoke, sparking, or breaker trips: Shut down power safely and seek prompt professional help.
Improve Indoor Comfort Without Overworking The System
Close blinds during the strongest sun, seal obvious gaps around doors and windows, and use ceiling fans to make occupied rooms feel more comfortable. Avoid lowering the thermostat excessively, since that does not cool a home faster. Rooms above garages, near attics, or facing direct sun may need attention to insulation, air sealing, duct layout, or thermostat placement.
When To Call A Professional
Stop at visible, low-risk maintenance. Qualified service is needed for refrigerant concerns, exposed wiring, persistent leaks, recurring frozen coils, motor or compressor noise, and repeated breaker trips. Before scheduling service, record the time symptoms occur, indoor temperature, unusual sounds, affected rooms, and recent changes. A useful visit may include electrical checks, drain inspection, airflow measurements, and performance testing.
Simple Seasonal Cooling Checklist
- Verify thermostat mode, temperature, schedule, and batteries.
- Inspect or replace the air filter.
- Open and clear supply vents and return grilles.
- Remove debris around the outdoor unit.
- Look for water, ice, unusual odors, and unfamiliar sounds.
- Note rooms that stay warmer or more humid than others.
- Review the last service date and schedule help if warning signs remain.
Conclusion
A brief cooling check can reveal useful information before heat peaks. Start with settings, airflow, and visible cleanup, then let safety guide every decision. Problems involving electricity, refrigerant, water damage, or internal components are best handled by a qualified professional.