

Key Takeaways
- Exterior paint performs best when applied to surfaces that are clean, dry, stable, and properly repaired.
- Temperature, direct sunlight, wind, humidity, rain, and overnight dew can affect application and drying.
- Color selection should account for the home’s roof, masonry, landscaping, and changing natural light.
- Cracks, failed caulk, loose paint, and damaged trim should be addressed before painting begins.
- Homes built before 1978 require added caution when old coatings are disturbed.
- A realistic schedule leaves room for weather delays, repair time, drying time, and a final inspection.
Kansas City homeowners know that an exterior has to handle changing seasons, spring rain, summer heat, wind, and winter freeze-thaw cycles. A successful repaint is not simply a matter of selecting a shade. It is a coordinated project that begins with inspection, repairs, timing, and a clear understanding of the home’s materials. Working with a provider of exterior painting Kansas City services can help homeowners organize those decisions before the first coat is applied. Whether the home has wood siding, fiber-cement boards, stucco, brick accents, metal railings, or painted trim, durable results depend on matching the preparation and coating process to the conditions. The right plan helps prevent avoidable issues such as peeling paint, visible patchwork, trapped moisture, and colors that look very different outdoors than they did on a small sample card.
Why Exterior Painting Needs a Plan
An exterior project often reveals needs that were easy to overlook from the driveway. A close inspection may uncover soft trim, open joints around windows, chalking paint, staining below gutters, or hairline cracks in stucco. Painting over those conditions may briefly improve the appearance, but it does not solve the underlying problem. Planning also makes the work safer and less disruptive. Homeowners can decide how to protect plants, patios, driveways, windows, exterior lights, and outdoor furniture. A rushed project may skip necessary repairs or apply paint before a damp area has dried, resulting in a finish that fails sooner than expected.
How Kansas City Weather Affects Paint
Kansas City weather can shift quickly, so work should be scheduled around actual conditions rather than the calendar alone. Paint must be applied and allowed to dry under the conditions listed by its manufacturer. Air temperature matters, but the temperature of sun-facing siding, trim, brick, or metal can differ substantially from the air temperature.
Weather Factors to Review
- Rain and dew: Fresh coating should not be exposed to rain or applied over wet surfaces. Morning dew can keep shaded walls damp after other areas appear dry.
- Heat and sunlight: Direct sun can make a surface hot and may cause paint to dry too quickly for smooth application.
- Humidity: Moist air can slow drying, especially in shaded locations or after periods of rain.
- Wind: Strong wind can carry dust, pollen, and debris onto wet paint while making controlled application more difficult.
Reviewing local climate data can help homeowners identify the seasonal patterns that affect planning, including precipitation, temperature, wind, and humidity. Historical information is useful for selecting a general window, but the forecast in the days leading up to and during the project should guide the daily schedule.
Practical Weather Planning
- Check the forecast several days before the work is scheduled to start.
- Allow time for surfaces to dry after rain, washing, or heavy dew.
- Work around intense afternoon sun when possible, especially on exposed walls.
- Keep enough time between coats for the product’s stated drying and recoat requirements.
- Be prepared to pause instead of forcing work during unsuitable conditions.
Why Surface Prep Comes First
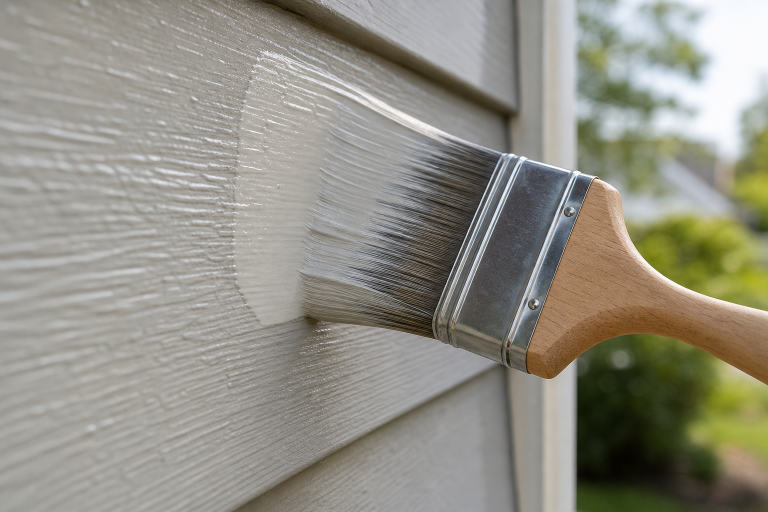
Preparation has a major effect on how well a new coating bonds. Paint cannot reliably correct a surface that is dirty, loose, damp, severely chalky, or structurally damaged. The right method also varies by material. Wood, masonry, metal, and composite siding do not all respond to the same cleaning, repair, sanding, or priming approach.
Problems to Identify Before Painting
- Peeling, flaking, bubbling, or cracked paint.
- Soft wood, rot, insect damage, or water staining.
- Open seams, gaps, and caulk that has split or pulled away.
- Mildew, algae, dirt, chalking, and pollen buildup.
- Rust or corrosion on metal components.
- Cracks in stucco, masonry, or exterior patching materials.
A thorough preparation sequence usually includes inspection, cleaning, removal of loose coating, repairs, sanding where appropriate, recaulking, spot priming, and a final dryness check. Bare areas and repaired sections often need primer so the finish coat has a consistent surface to bond to and a more uniform appearance.
Safety for Older Homes
If a Kansas City home was built before 1978, determine whether lead-based paint could be present before scraping or sanding older layers. The EPA explains that renovation and painting in pre-1978 homes can create hazardous lead dust, and its lead-safe work practices for DIY renovations outline steps to contain dust, protect occupants, and clean thoroughly.
How to Choose Colors That Work
A paint color does not exist in isolation. Before choosing a palette, look at the permanent features that will remain in place: roof shingles, brick, stone, concrete, window frames, garage doors, walkways, and landscaping. In established Kansas City neighborhoods, this step can help the home feel refreshed while still fitting its architecture and surroundings.
Build a Three-Part Palette
- Main color: Use the dominant shade for siding and broad wall areas.
- Trim color: Choose a complementary tone for fascia, window trim, columns, and edges.
- Accent color: Reserve a bolder or darker color for a front door, shutters, or another focal point.
Test larger samples on both sides of the house. View them in morning, afternoon, and evening light, then compare them with the roof and masonry. A color that looks soft in shade may look much brighter in direct sun, while a dark shade can create a stronger visual contrast than expected.
How to Create a Practical Project Timeline
- Inspect the exterior and document repairs, moisture concerns, and failing paint.
- Prioritize repairs that protect the building before cosmetic improvements.
- Select and test colors against fixed exterior features.
- Choose a weather window while keeping a backup plan for delays.
- Protect landscaping, hardscape, fixtures, and nearby surfaces.
- Complete cleaning, repairs, caulking, sanding, and priming.
- Paint in logical sections and follow the coating manufacturer’s instructions.
- Perform a final inspection for missed spots, thin coverage, drips, and cleanup needs.
Exterior Painting Mistakes to Avoid
- Applying paint over dirt, mildew, chalking, or loose material.
- Ignoring rain risk, dew, wind, or overly hot surfaces.
- Using one preparation method for every exterior material.
- Skipping repairs and expecting paint to seal structural damage.
- Choosing a color from a small card without testing it outdoors.
- Applying coats too heavily or before the prior coat has dried as directed.
Questions to Ask Before Work Begins
- What must be repaired before the painting stage?
- How will each material be cleaned and prepared?
- Which surfaces need primer or specialized coating?
- How will weather interruptions be handled?
- How will landscaping, windows, decks, and walkways be protected?
- What cleanup and final inspection steps are included?
A Simple Exterior Painting Checklist
- Inspect every painted surface and identify damage.
- Confirm that old coatings can be disturbed safely.
- Review weather patterns and the short-term forecast.
- Test colors in changing natural light.
- Clean, repair, sand, caulk, and prime as needed.
- Protect the surrounding property before work begins.
- Verify that surfaces are dry and conditions are suitable.
- Inspect the finished exterior before removing protective coverings.
A durable Kansas City exterior refresh begins long before the final color goes on. Careful weather planning, material-specific preparation, thoughtful color testing, and a practical schedule give the finished work a stronger foundation for the seasons ahead.
Conclusion
Hiring a Kansas City painter involves more than comparing prices or selecting a contractor based on appearance alone. Property owners should consider the property’s type and condition, the contractor’s relevant experience, preparation methods, materials, project management, warranty terms, and the contractor’s ability to meet the required schedule. Residential, historic, commercial, and industrial projects can have different preparation and coating requirements, so experience with the specific type of work is important. Before signing a contract, review the written scope carefully and confirm which repairs, surface preparation, primers, paint coats, cleanup, and related services are included. Color planning should also consider existing architectural materials, natural light, and fixed finishes rather than trends alone. For older properties, owners should understand applicable lead-safe requirements before work begins. Comparing several qualified contractors using the same criteria can make differences in scope and pricing easier to identify. A clear agreement, realistic expectations, and consistent communication can help keep the painting project organized from preparation through the final walkthrough.